|
|
|
Seamless Tiled Textures - Ken Deel/OtherWorlds InterActive
First
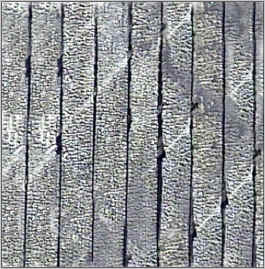
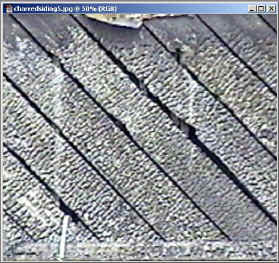
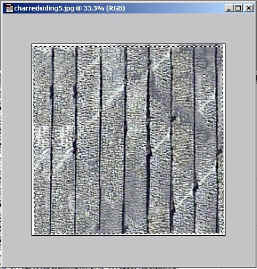
I will choose a texture, this is a shot of a burned wood house taken with my
digital camcorder , shown already cropped.
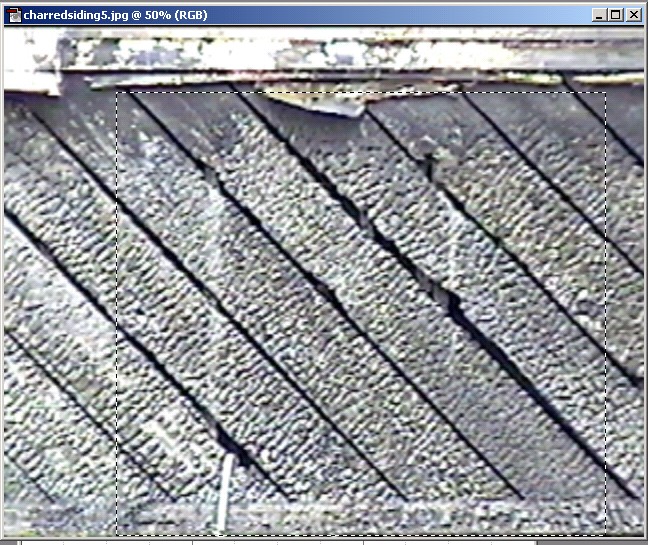
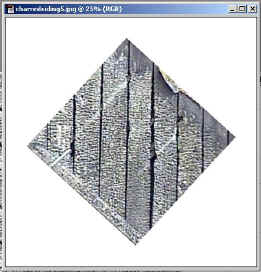
But we need to crop it more. I selected an area of this
texture and kept it perfect square in dimensions.
Mainly I wanted to isolate the area that I wanted to
tile, that being that wood planked appearance.
Please note that it is assumed that you are familiar with your paint program,
especially the clone ink, rubber stamp, or clone brush tool.
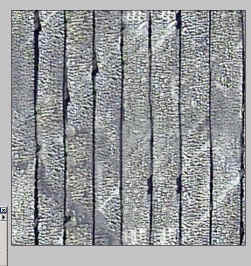
Now the cropped image looks like this:
 |
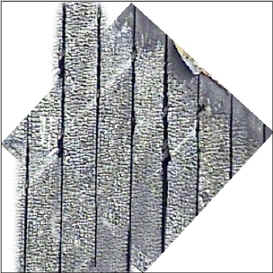
<<Now
I suppose I could spend some time trying to get this to tile seamlessly.
But what is the point? This "pattern" set at an angle is much
harder to set up to be seamlessly tiled. I can rotate the image on the brush to any angle I want so I might as well make this with a perfect horizontal or vertical sweep. And that is what I am going to do as you see in the next box. (right)>> I chose to rotate the canvas until I had the "lines" showing between the boards almost perfectly vertical. Crop again to surround the box more closely fit into the workspace square. below left). |
 |
 |
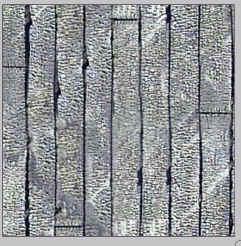
<< Shown to the left you will see that I am compensating for
the "white" area's by use the good-ol "rubber stamp"
tool. Here to the right I show the result of the left. >>> |
|
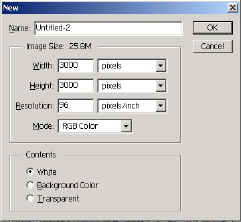
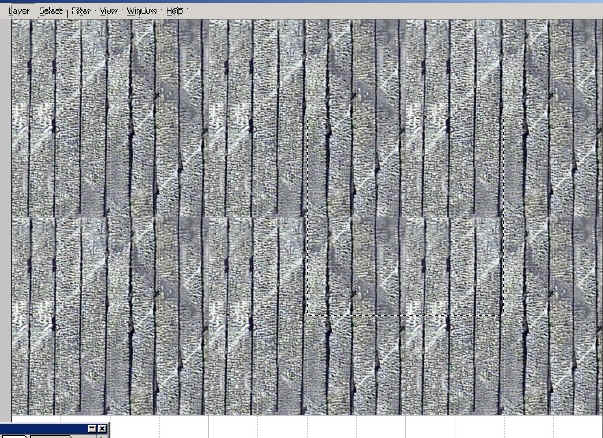
Now we will see how well it tiles now by creating a new image
that is exactly 3 times by three times larger than the image we are working on.
You will be carefully butting the images together to see how well it tiles so
far, then if all goes well, retouching the seam, then sampling and
cropping
to get a new image.
Tip: it is faster to set your grid to the size of the texture
"snap grid every #XX pixels" in your paint programs preferences
options. In my case I made them snap at 1000 pixels which made for a
fast and easy slide and fit for my 1000 pixel image.
This way you can get the images fit quicker when you paste them one by one.
But look closely, this can be an unreliable method for perfectly lining up
your images.
Hide the grid and look closely before you do any further editing. I chose 1000
because Photoshop doesn't allow you to space grids more than
1000 pixels apart and I always start with larger images.
| I set the new image size here to 3000, which
is 3x my image size of 1000.
|
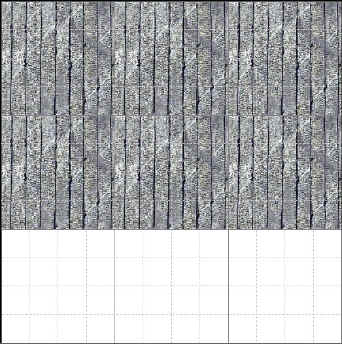
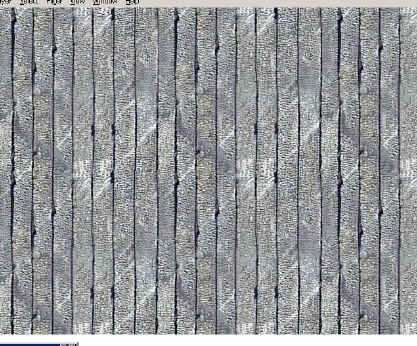
Well I didn't expect all the lines to meet perfectly so along with the seam touch-ups I will make sure that the lines do in fact meet. If they don't meet up like they show here, it means you have to rotate at tighter angle settings like .5 or even less degrees. Then you can crop the "exposed" area off made when you rotate, and resize back to you textures normal size. Then re-check tiling again. This could be avoid if you carefully looked at all the lines to see that they are as vertically straight as possible. >>> |
|
I can see that enough of the black "lines" match up to know I don't have to go back and rotate again, so it's time to move on to the next step:
 |
Okay here is where
it gets tricky. What I do now is draw a selection box exactly 1.5
times from the left, and .5 times from the top. Making sure that the box
is drawn to be the same exact size of the original image. In my case
"1000" pixels square.
Next crop and retouch the images seam with the rubber stamp tool (or equivalent tool), touch out the seam but when you get to the edge of the box, try to not change much so you don't again create a new seam. To restate that, when you follow the seam to the edge of the box try to not retouch it with a wide array of painting. Keep it a very thin line near the edges. Look at the top and keep in mind that the top and the bottom will be meeting for a perfect tile, to remind you to not get carried away near where the "new" concealed seam will be. |
Tips: Try to keep the detail down if you plan on using this as a repeating
tiled texture. When you get your image to the point it is above,
you may notice this obvious un-natural repeating pattern in it like I have with
the white streaks on the charred wood.
 |
 |
 |
| Notice this image with
the white streaks. Note that even after retouching the image that the patterns made the image look un-natural when tiled. This is not the image I retouched, I am merely showing it as an example of how too much detail like the white streak can add an un-natural tiling appearance. |
^^ So what I did was touched them out on the final image itself. Just enough was left for some "character". That didn't have the same negative effect as it did with many more "White lines" across it. This was the final image I used. Like a small patch of grass center in the image amongst brown mud. The image alone can look good but tiled you will notice the grass patch symmetrically repeating. | ^^ I added the extra finishing details by duplicating & rotating the image and then using the rubber stamp (clone) tool, sampling the crack on the duplicate image, then painting onto my final where I wanted it, to get that inlayed floor look. |
 |
This
is the result of my image, when checking to see how well it tiled one
last time. Because of the size scale of where the texture was to be used. I decided against removing the darker gray detail that is shown on the 2x3 tiling shown to the left. But one can see the "near" end result was well worth it. You will find that the outlined method works well on most images, and that ones with a pattern you have to deal with are the harder ones to create. So this was best suited for a tutorial. |
Final notes:
feel free to e-mail, if you think you don't understand something above
that is stated.
Else some principals such as the use of the rubber stamp tool will be covered in
another tutorial later.
Please, If you like there tutorial and would like to see more, let me know. If you found it useful, let me know.. : )
To report "errors" and to post comments e-mail us at KenDeel@mail.com This Website Created and Hosted by OtherWorlds InterActive.